3 BEST Detox Bath Recipes to help release toxins
Your skin is your largest organ in the body and it’s also an elimination organ, and can release toxins from the body. A healing bath using the right combination of ingredients can really help with the detoxification process. Read more below to find out my favorite detox bath recipes!
All information in this article is for educational purposes only.
It is not for the diagnosis, treatment, prescription or cure of any disease or health condition.
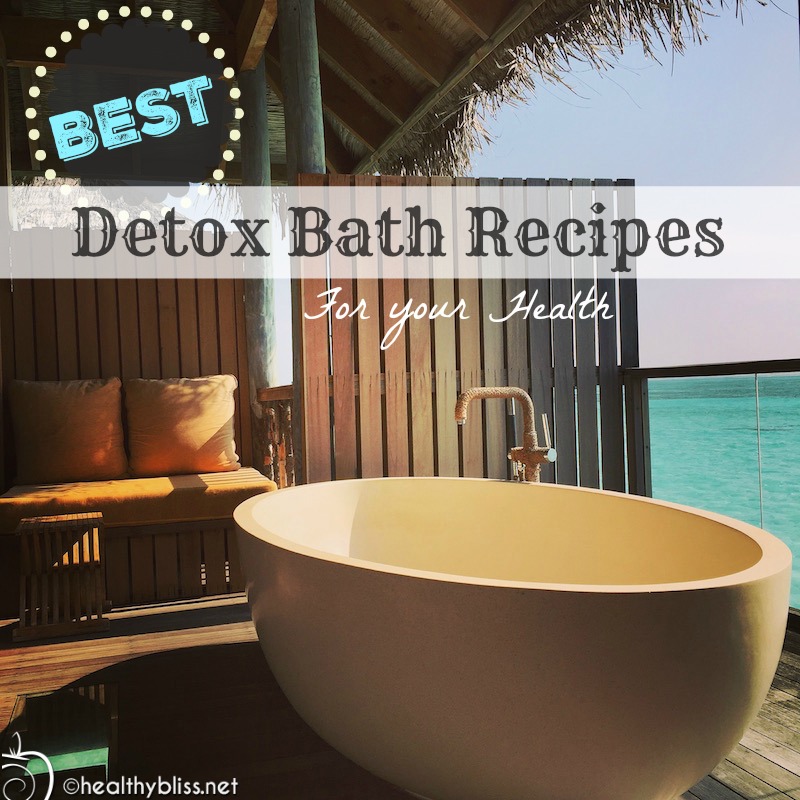
For the vision board: This is the perfect outdoor bath!
Detox Bath Preparation
You can either use a bathtub for a full body soak or a rectangular bucket to soak just the feet for your detox bath. A foot bath works really well for either elderly folks or for people who are too ill or injured to get in and out of a tub. If you are using a bathtub, make sure the tub is clean before you prepare your bath.
Detox Bath Recipe #1: For a detox reaction or healing crisis
If you’re experiencing a healing crisis on your detox, take a restorative bath. It’s one of the best and fastest way to reduce the detox reaction. While preparing the bath, connect your phone or tablet to youtube for some inspiring Louise Hay or Esther Hicks audio. In the bath, repeat your positive affirmations out loud. This can really help to dissolve any fear or worry with what you are feeling. Always keep the mind on the right track while the body heals.
Next, prepare a glass and bottle of distilled water to keep next to your bath. Drinking distilled water during a detox reaction can greatly help pass the crisis faster. Distilled water binds to heavy metals and toxins to safely release them through the kidneys and urine.
Add the ingredients below to the bath. Soak in the tub for a minimum of 20 minutes (40 minutes is better). If you don’t have distilled water to drink, then prepare a cup of organic chamomile tea to enjoy during or after your bath.
Epsom Salt Detox Bath Recipe
Add the following to the bath water:
- 1 1/2 cup Epsom Salts
- 1/4 cup baking soda (bicarbonate soda)
- 10-15 drops organic lavender oil
Optional; for added relaxation: Add 1 amethyst crystal (either polished or rough) to the bath.
If you’re still not feeling your best after the bath, try a castor oil pack on the liver or a coffee enema to further assist the body in detoxification.
Detox Bath Recipe #2: For clear skin
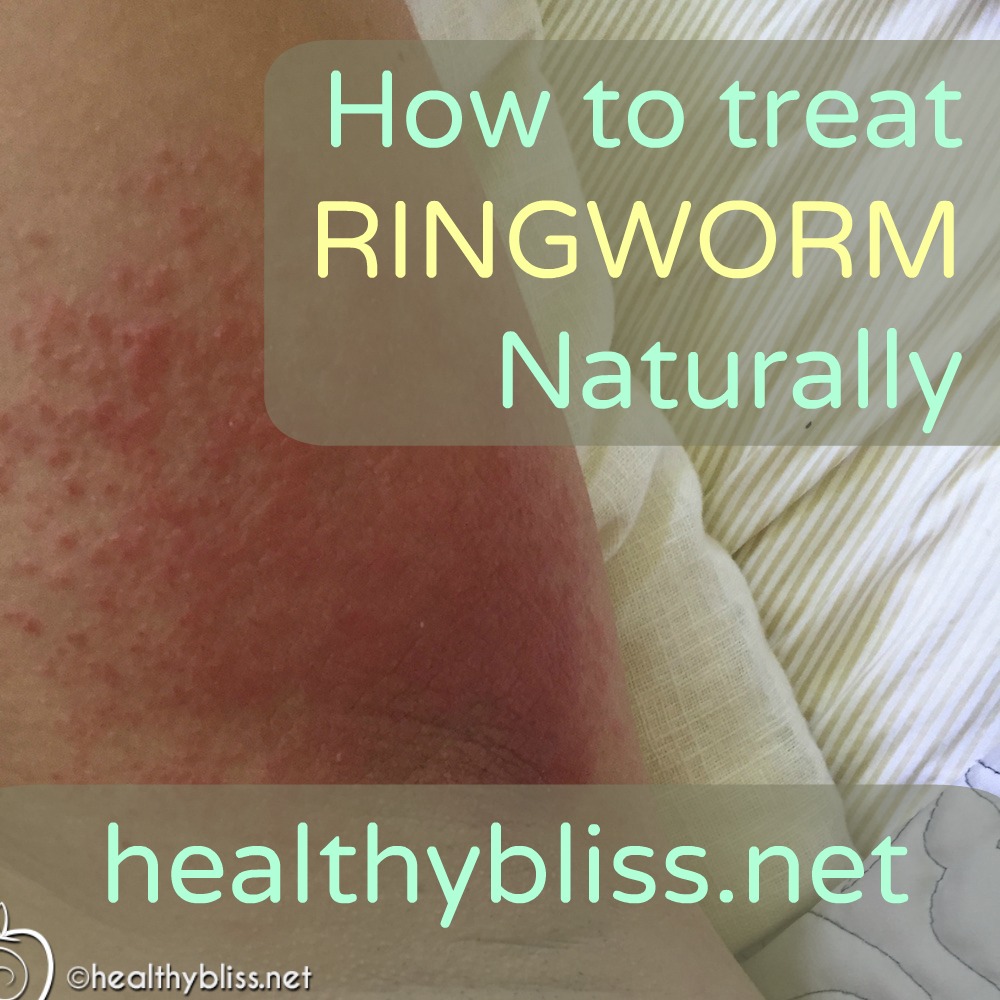
This healing bath is especially good for rashes, itchy skin, hives, outbreaks, acne, inflammation, red patches or even puffiness in the ankles, hands and feet. Remember, your skin is the largest organ in the body, and it’s also an elimination organ, meaning it helps the body release toxins. Any affliction in the skin is a sign that your body is not eliminating well. This bath is designed to open up the pores in the skin and help speed up the detox or removal of toxins.
Prepare a bath of warm water. Don’t make the water too hot as it can scald the skin. You should be able to comfortable submerge your entire hand in the water. That way, you know the temperature is ok. If you want to also give an extra conditioning treatment to your hair, then apply organic castor oil to your hair, gently rubbing it in, before you enter the bath. Rinse and wash the hair thoroughly after.
Prepare a cup of fresh parsley or dried uva ursi tea to drinking during or after your bath.
Skin Detox Bath Recipe
Add the following to the bath water:
- 1 cup liquid bentonite clay
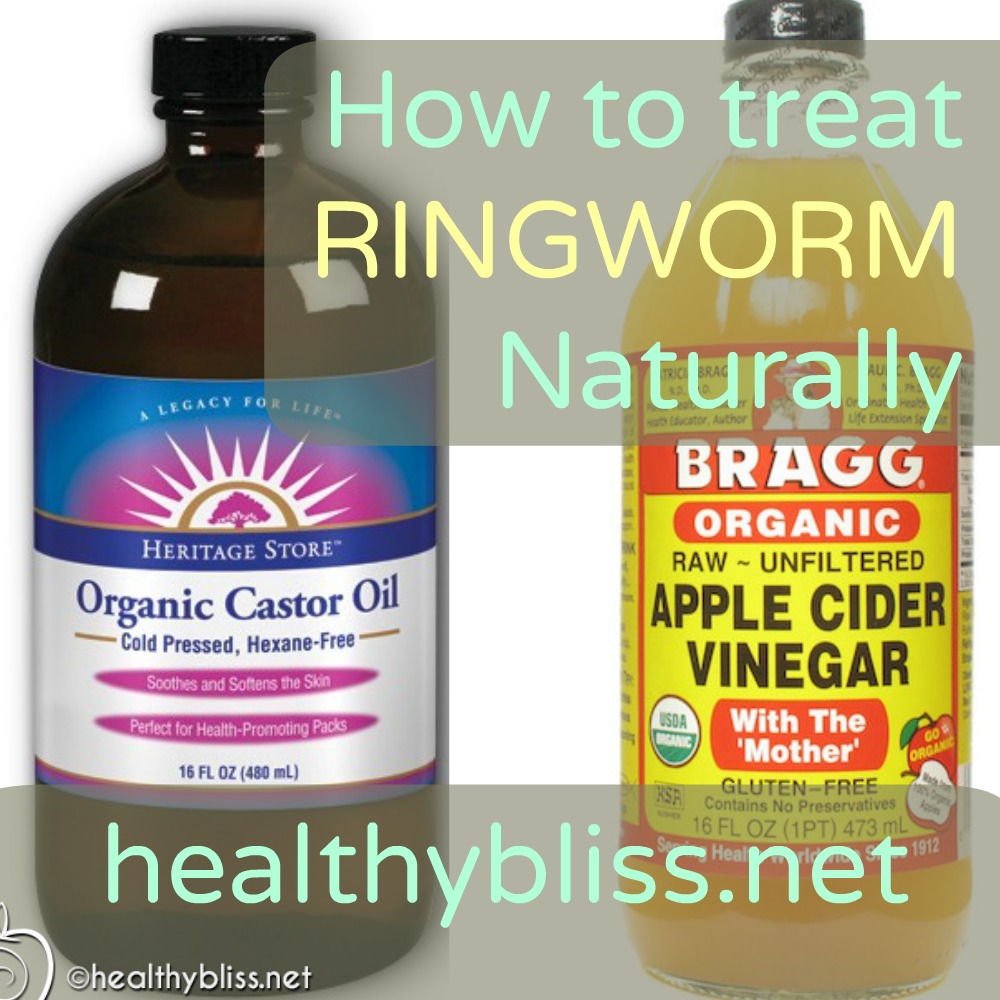
- 2 Tbsp. raw organic apple cider vinegar
- 2 Tbsp. organic aloe vera juice
- 3-5 drops organic rosemary oil
Find all the above ingredients on iherb.com here.
For any residual inflammation, soreness or itchy feeling after your bath, try applying cold liquid bentonite clay on the skin once its dry. The cool feeling helps to soothe any fire or burn and the clay naturally draws toxins out of the skin.
Detox Bath #3: For muscle aches and pains
A healing bath can provide wonderful relief from muscle aches, pains and stiff neck and menstrual pain too. Before you enter the bath, use a dry skin brush to gently massage the lymphatic system. Brush the skin using gentle strokes. If you are having pain, then the direction of your brush strokes should be away from the heart (towards the hands and feet).
Prepare a cup of organic sage tea to drinking during or after your bath.
Restorative Muscle Bath Recipe
Add the following to the bath water:
- 2 cups Epsom salts
- 2 Tbsp. organic castor oil
- 8-10 drops organic sage oil
Find all the above ingredients on iherb.com here.
After your bath, you can prepare a castor oil pack with heating pad on the sore muscle or stiff neck. Keep the pack applied for 40-60 minutes. (To learn more about the healing benefits of castor oil, check out the book That Oil That Heals: A Physician’s Success with Castor Oil.)
Read more on detox here:
Gallstone Liver Flush – Recipe & Cleanse Info
How to Do Onion Socks for Healing


How to Eat Clean: Start with Green Smoothies!
 Check out my book Green Smoothies for Dummies – I’ve got loads of recipes using dark leafy greens and many delicious combos without any chemical additives, flavorings or refined sugar. It’s so easy!
Clean your body from the inside out and watch your skin improve, your hair and nails get stronger, your eyes look brighter and your waistline slim down….all naturally and effortlessly! It’s simply amazing and your only regret will be that you didn’t start drinking green smoothies sooner.
When you take care of your whole body, you get whole body health.
When you let your food be your medicine, you are always moving towards better health.
Find the book Green Smoothies for Dummies on iTunes or amazon.com!
For more on how to achieve your health goals and actually start feeling great, book a private health consult with me via Skype.
How to Book Your Health & Nutritional Coaching Session:
1. Take photos of your eyes with a smart phone or digital camera.
2. Email the photos to me for approval for Iridology Analysis.
3. We schedule a time to meet via phone or Skype!
More on anti-Aging:
- Intermittent fasting – What’s the best way?
- Top 10 Secrets for Good Health and Longevity: How to Create Your Personal ‘Blue Zone’
- What are the symptoms of Heavy Metal toxicity?
- Motivational Health Quotes from Paul Bragg
- Loni Jane Anthony pregnant and eating 10 bananas a day: She says “80:10:10 diet saved my life”


Follow Jennifer